Setting a Geographic Boundary (geofence)

Setting a geofence in your MICHELIN Connected Fleet Cameras portal triggers an event when your vehicle enters or exits the defined geographic boundary. You can use the geofence to define areas that are allowed or prohibited to your drivers and then track vehicles accordingly.
To set a geofence
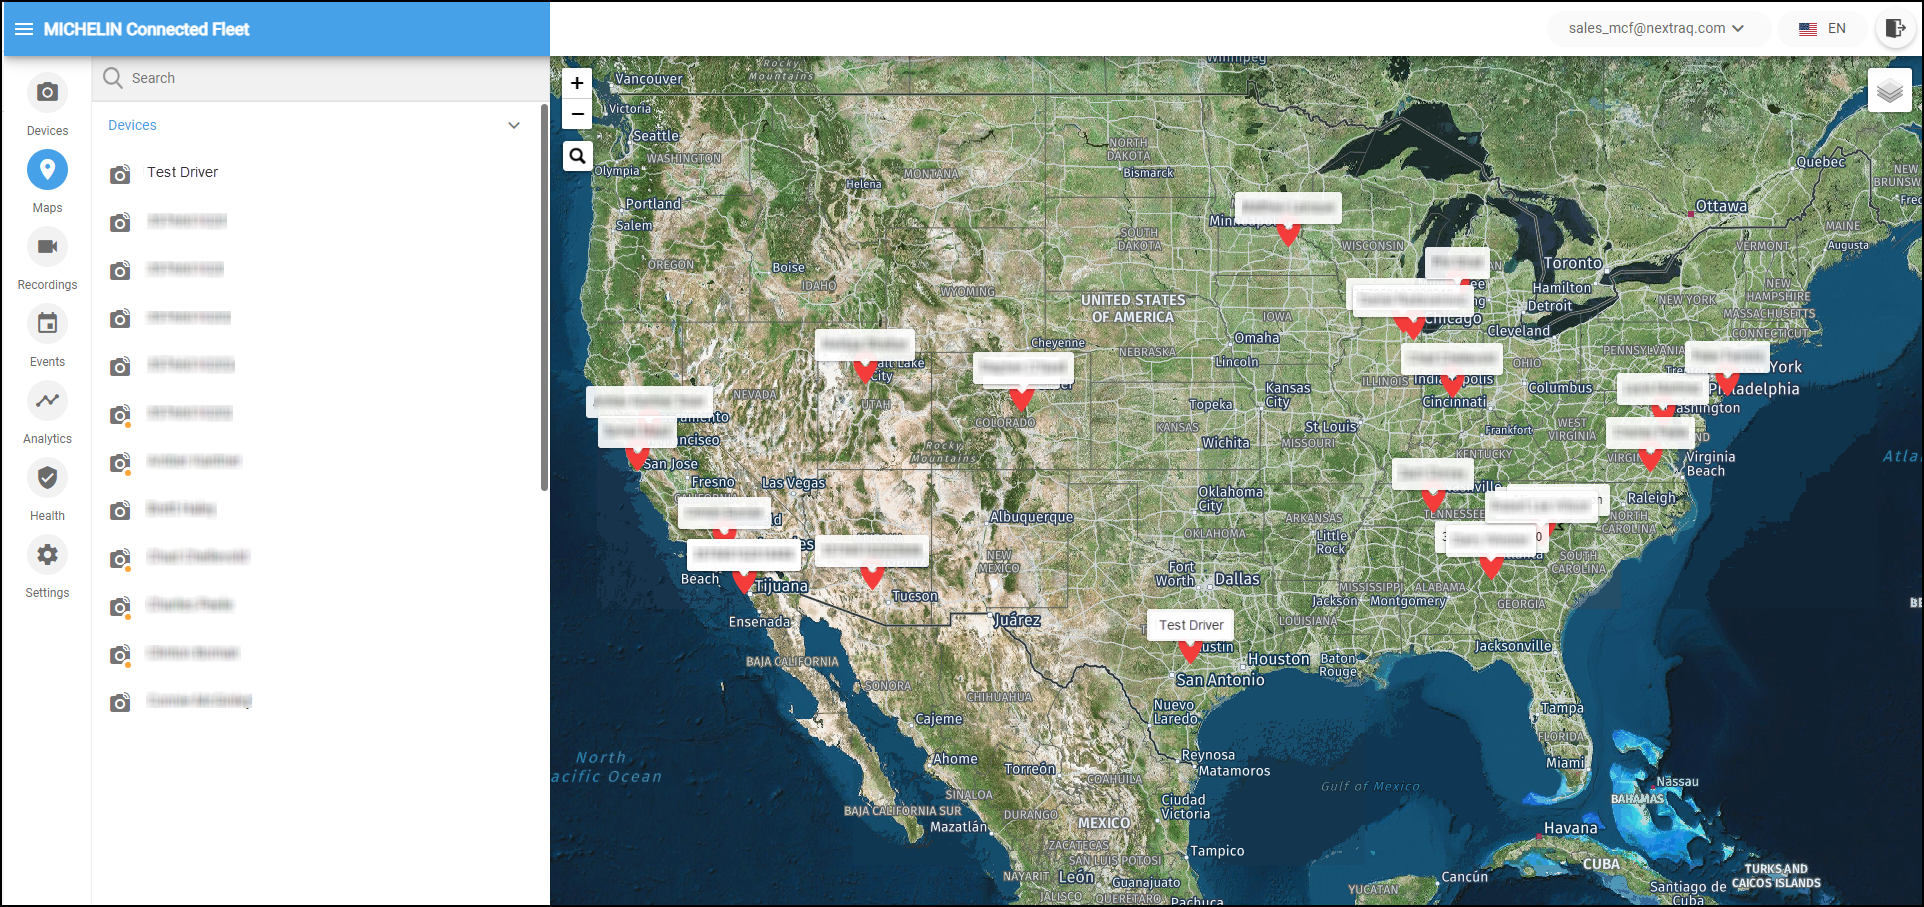
- Log into the your MICHELIN Connected Fleet Cameras portal and from the navigation bar, click

- The Maps area loads.
- Select the vehicle to which you want to add a geofence.
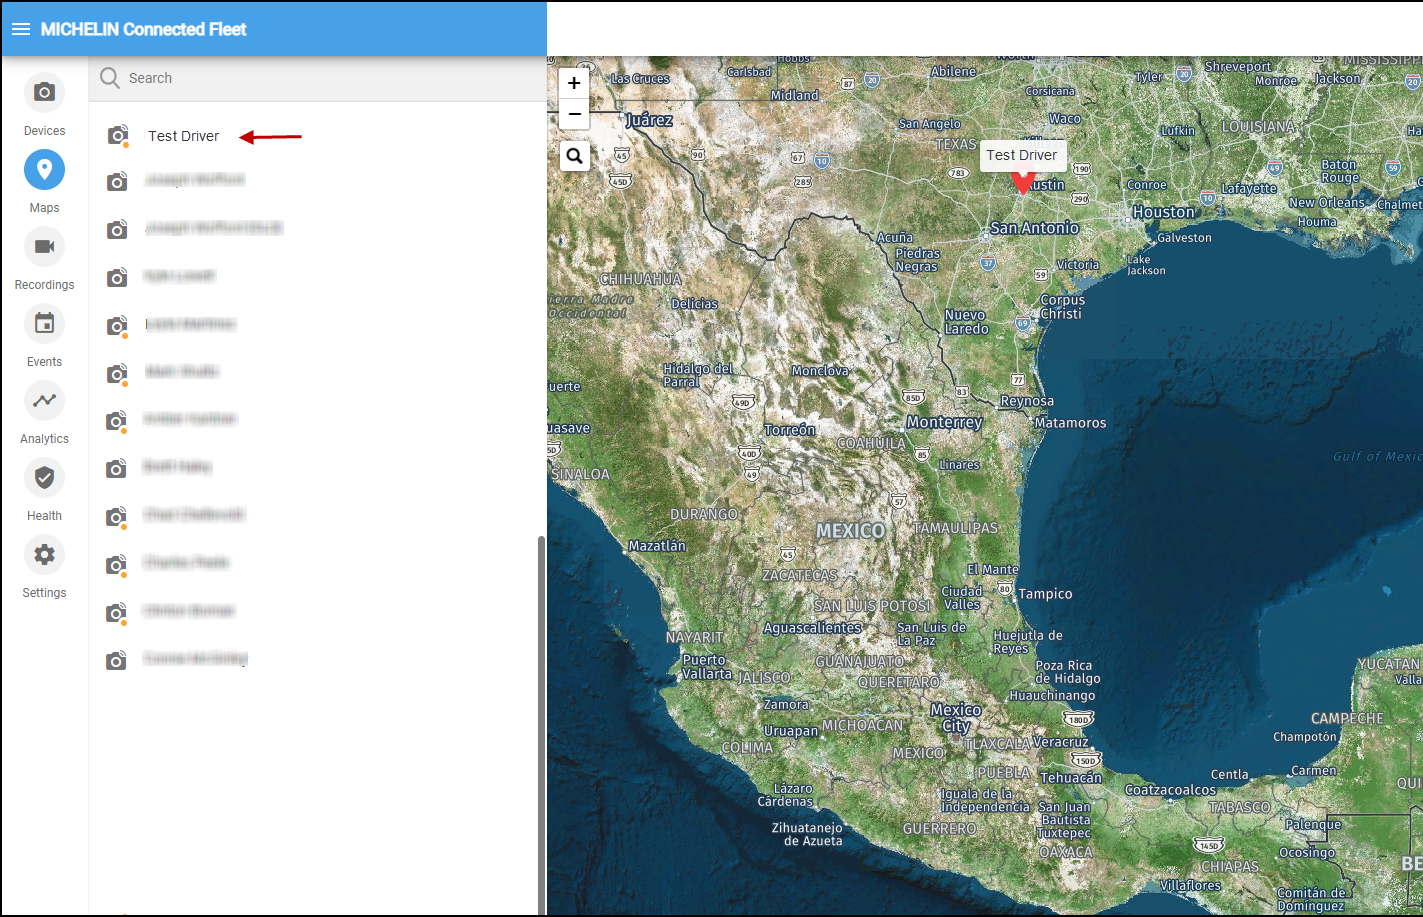
The map displays the GPS location of the vehicle.
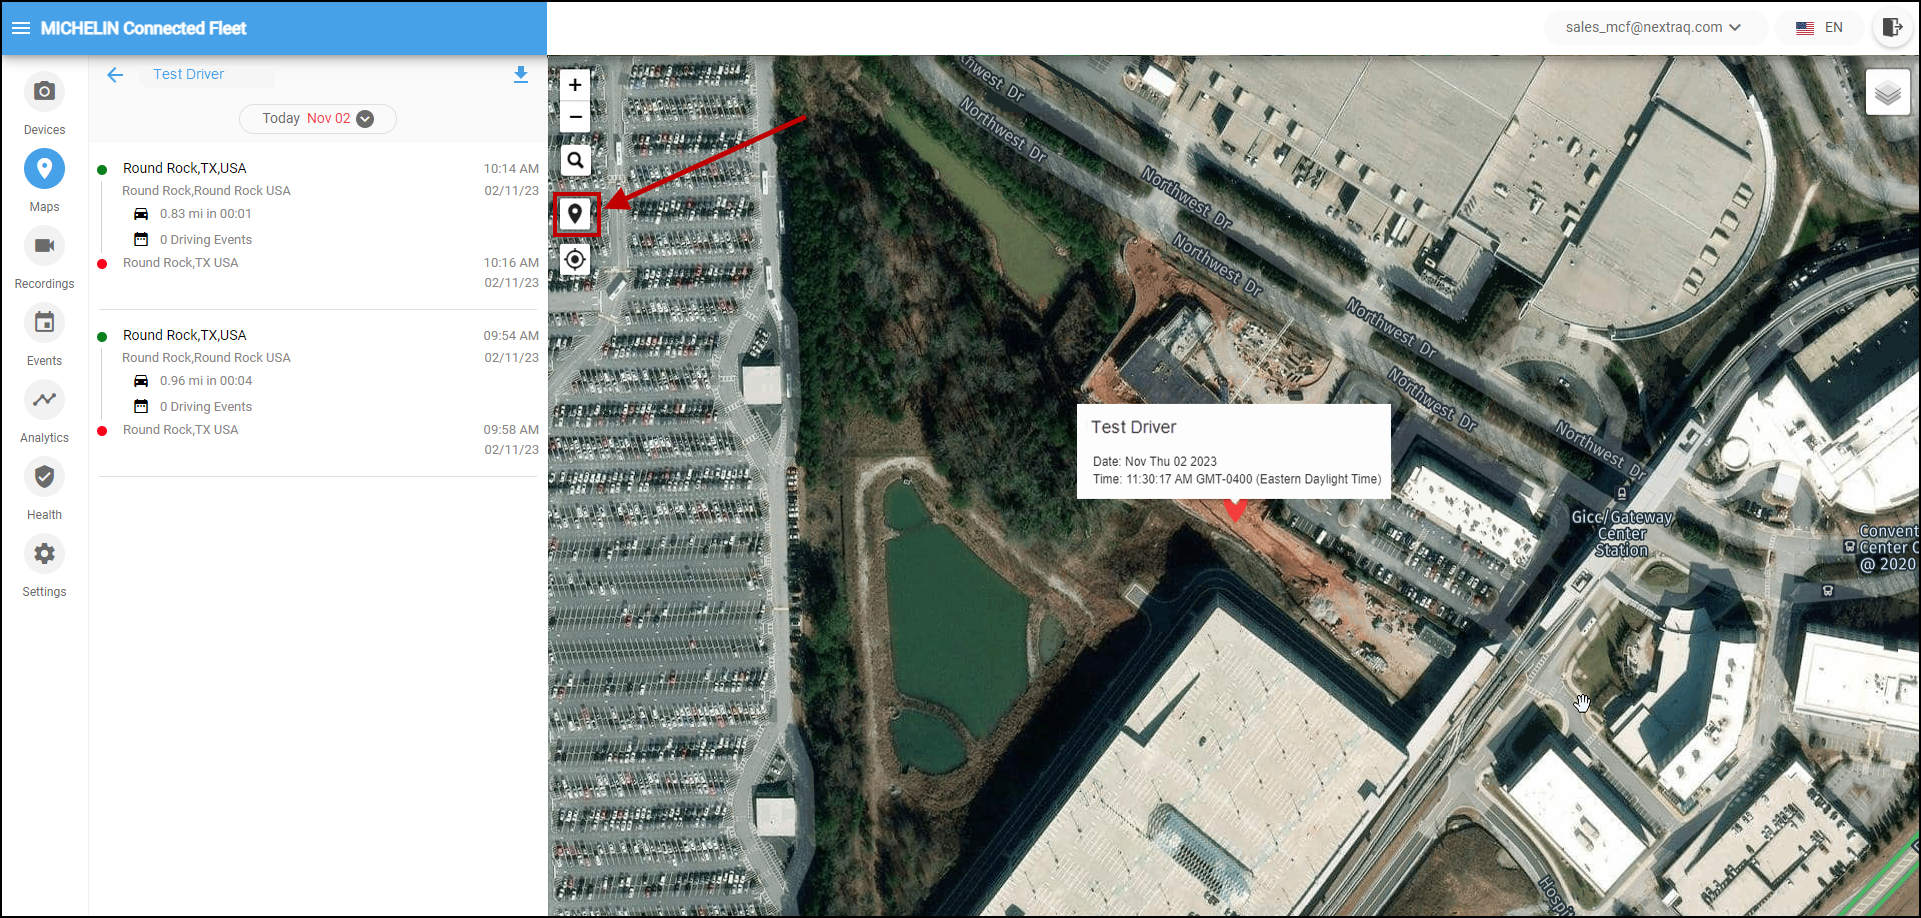
- Click the Geofence button from the top left of the map.
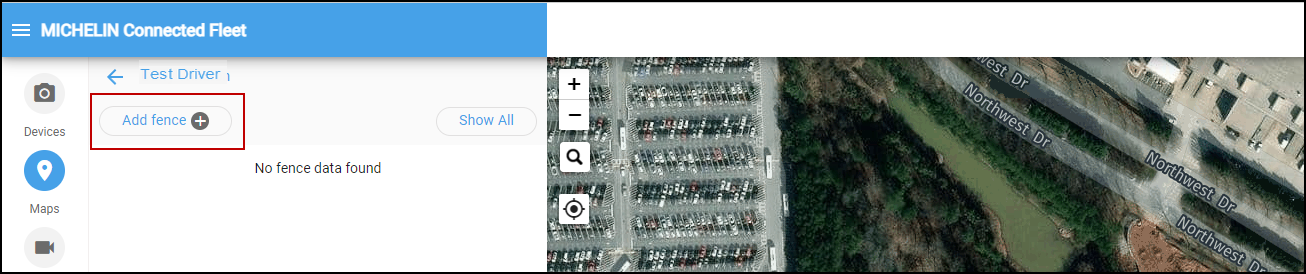
- Click ADD FENCE from the Maps window.
- Drag the mouse on the map to draw the geofence area.
When you release the mouse, the ADD FENCE window pops up. - Assign a unique name to the geofence and click OK.
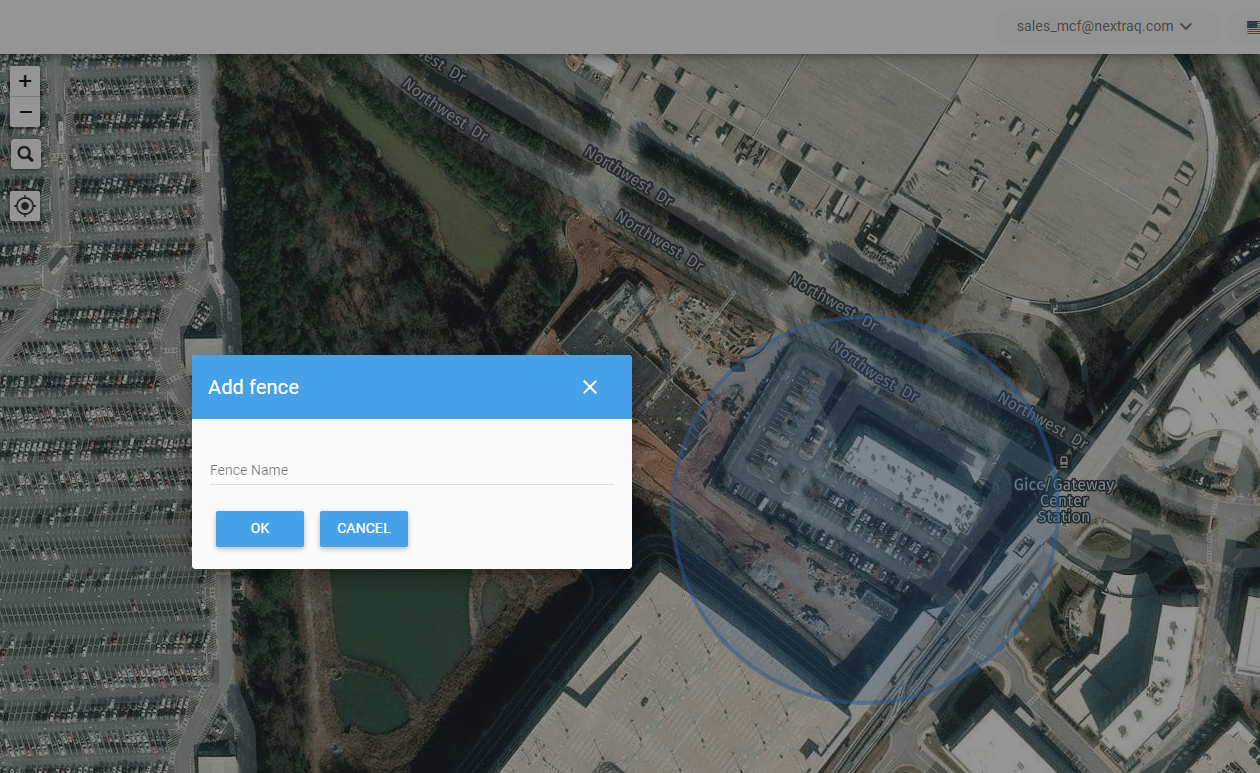
You are only able to create a circlular geofence with the MICHELIN Connected Fleet Cameras portal .
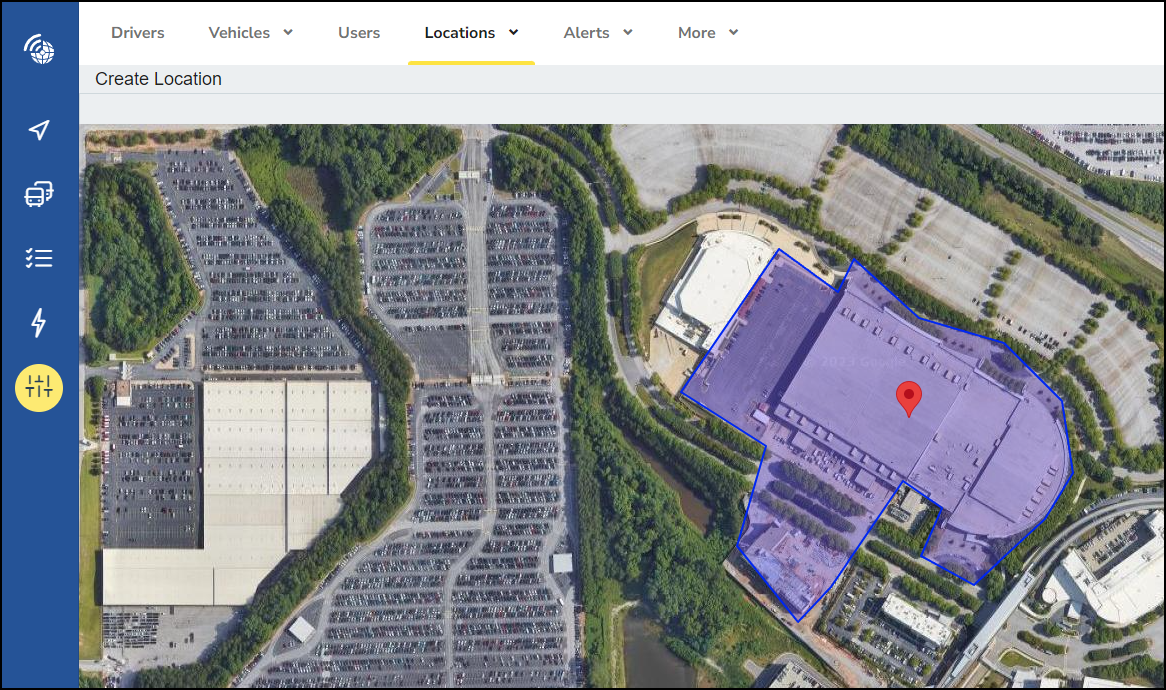
If you want to be more precise with creating geometric multi-point geofences, consider using the Geofence Tracking and alert options available in your MICHELIN MyConnectedFleet platform.
Below is an example of a multi-point Geofence created in the MICHELIN MyConnectedFleet platform.
Important
Geofences created in the MICHELIN MyConnectedFleet platform cannot be viewed in the MICHELIN Connected Fleet Cameras portal, and geofences created in your MICHELIN Connected Fleet Cameras portal cannot be viewed in the MICHELIN MyConnectedFleet platform.