Mass update: vehicles

Step 1 – Create the vehicle list
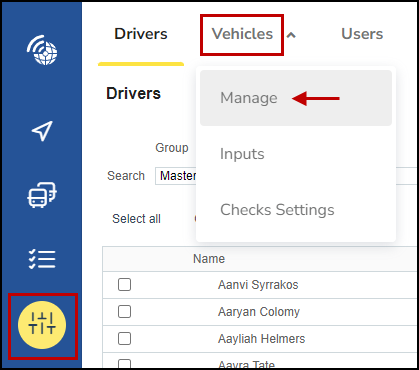
Go to Settings, Alerts, and Locations > Vehicles > Manage to open the Vehicles page.
On the Vehicles page, click on the Update button on the upper right section of your screen.

This will open the Vehicles Update page. At the top right section of this page, you will have the 2 buttons:
- Download sample CSV file. This will download a sample driver update CSV file to your desktop. You can then use it to create your update list.
- Open Import help file. This will open a 4 page help document to aid you with completing your mass vehicle update.

- The file you create for upload must be in a CSV file format (in Excel save as ‘CSV’)If using Excel to create the CSV file, ensure that the vehicle list is the first worksheet (Sheet 1)
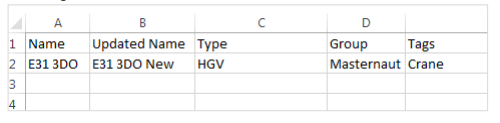
- Your vehicle list must have the following columns:
- Name
- Updated Name
- Type
- Group
- Tags
- The sample file contains a top (header) row in the CSV. You should not remove this row. Place your first vehicle in the row below this header row.
- Do not duplicate vehicle names (e.g. Vehicle1 and Vehicle1) in the "Name" row.

- If the vehicle name does not need to be updated, the “Updated Name” can be left blank, or simply be the same as the current name.
- A vehicle type must be specified. This must be an existing type.
- A vehicle group must be specified. This must be an existing group which the user has access rights for.
- Tags are single words separated by a space. These tags will replace any existing tags on the vehicle. If no tags are specified in the file, then any existing tags will be deleted.
Step 2 – Update your vehicle list
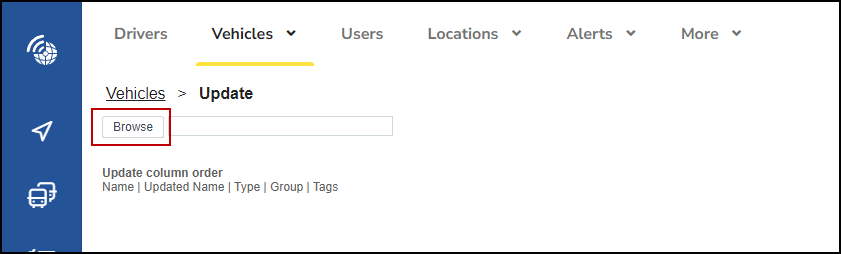
- To update the vehicles, select ‘Update’ from the vehicles page.
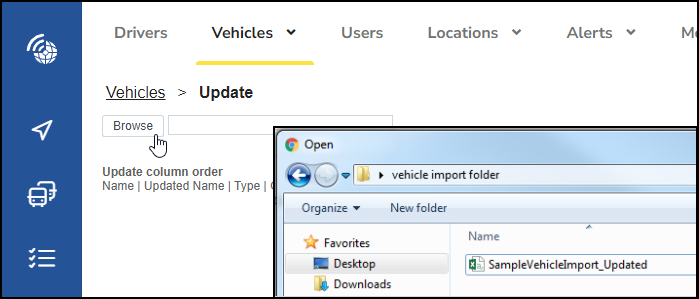
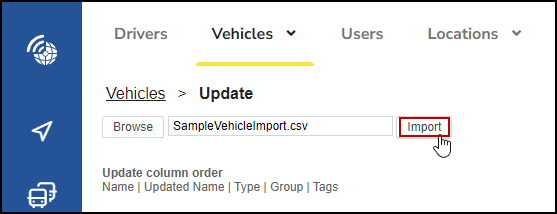
- Click ‘Browse’ on the vehicle update page
- Browse for the appropriate file
- When you have selected the file, click the ‘Import’ button.
- If you wish to cancel the current import, click the ‘Cancel’ button. Note: vehicles that have already been updated will not be reverted back to their previous settings.
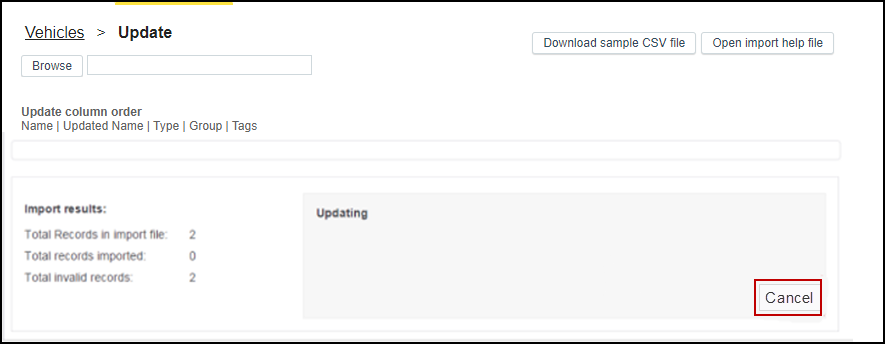
- Once the import is complete the summary shows:
- Total records in import file
- Total records imported
- Total invalid records
There is also a section dealing with invalid records. Pressing the “Download log” button enables you to download and view details of records that have failed to import.
This import allows you to mass update vehicles that exist on the system. New vehicles CANNOT be created.