Mass import: Drivers

Driver mass import
This import method allows the creation of drivers that do no currently exist on the system. Therefore it is assumed only new drivers will be included in the import CSV file.
Step 1 - Navigate to the Drivers page
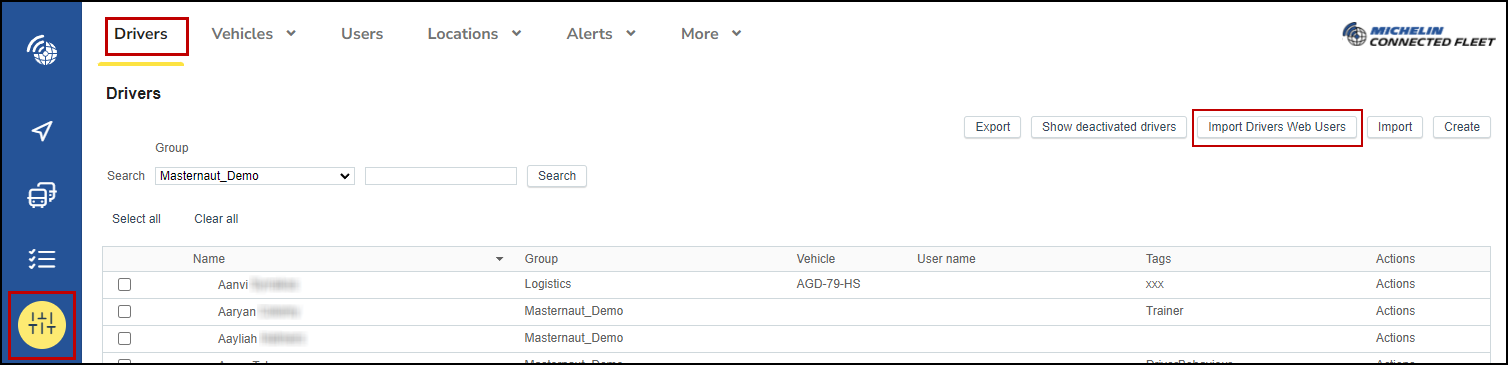
- Select Settings, Alerts, & Locations > Drivers to open the Drivers page.
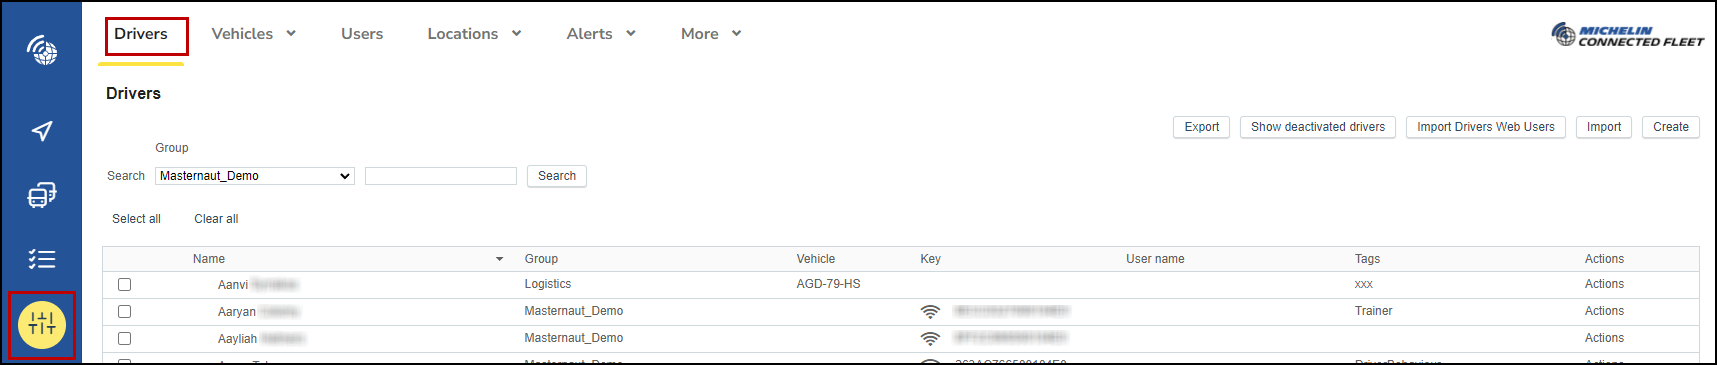
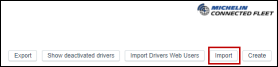
- On the upper right section of the Drivers page you will see options to either 'Import Drivers Web Users' or 'Import'.
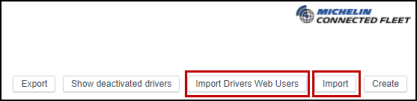
- Select the Import button to import drivers.
- Select the Import Drivers Web Users button if you are importing drivers that will also have web access to the Connect app.
Step 2 - Create a list of new drivers using the Import button
- The import file must be a CSV file format (in Excel save as ‘CSV’)
- A 'Download sample CSV file' button is provided on both the import page and the import drivers web users page of Connect so you can view an example..
- If using Excel to create the CSV file, ensure that the driver list is the first worksheet (Sheet 1)
- The driver list must follow the same structure as the driver table:
- Driver name
- Group name
- Associated vehicle name
- RFID Key number
- PND PIN code
- Tacho Card number
- Tags
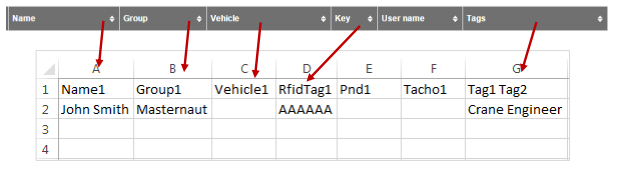
The sample file contains a top (header) row in the CSV. You should remove this row. Place your first driver in the first row (see example below).

- Do not duplicate driver names
- A driver must be in a group.
- The minimum import is a driver and a group.
- ID keys cannot be imported if they already exist. ID keys must be exactly 6 characters, each a digit or a letter between A and F. An example would be ‘123456’ or ‘142FEE’
- Tags are single words separated by a space. These tags will replace any existing tags on the driver. If no tags are specified in the file, then any existing tags will be deleted.
Step 3 - Import drivers
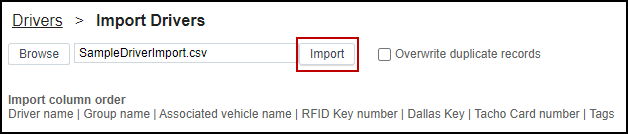
- To import the file select ‘Import’ in the drivers page
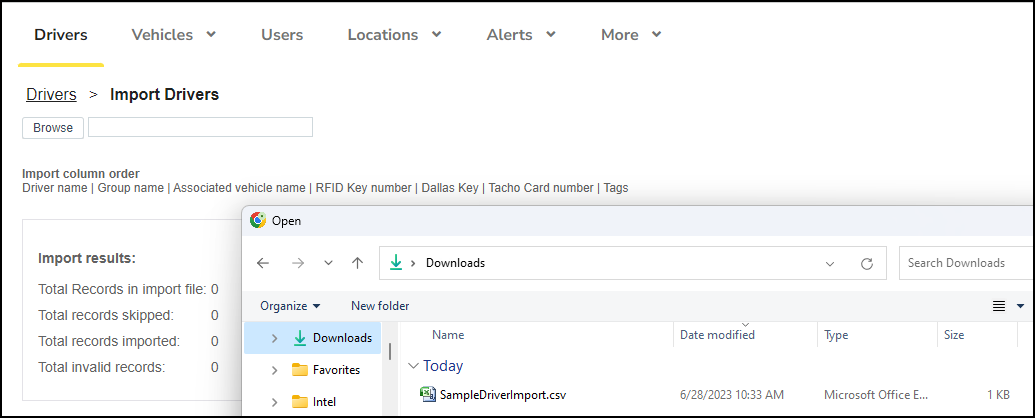
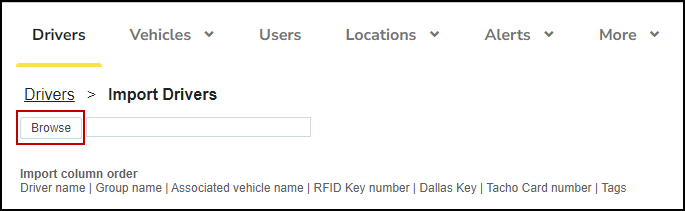
- To import the file select ‘Browse in the drivers page

- Browse for the correct file
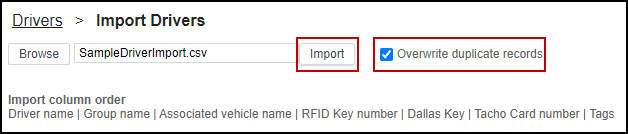
- When you have selected the file, a checkbox appears to enable the overwrite feature. The overwrite feature is addressed later in the document. To run the import process press ‘Import’.
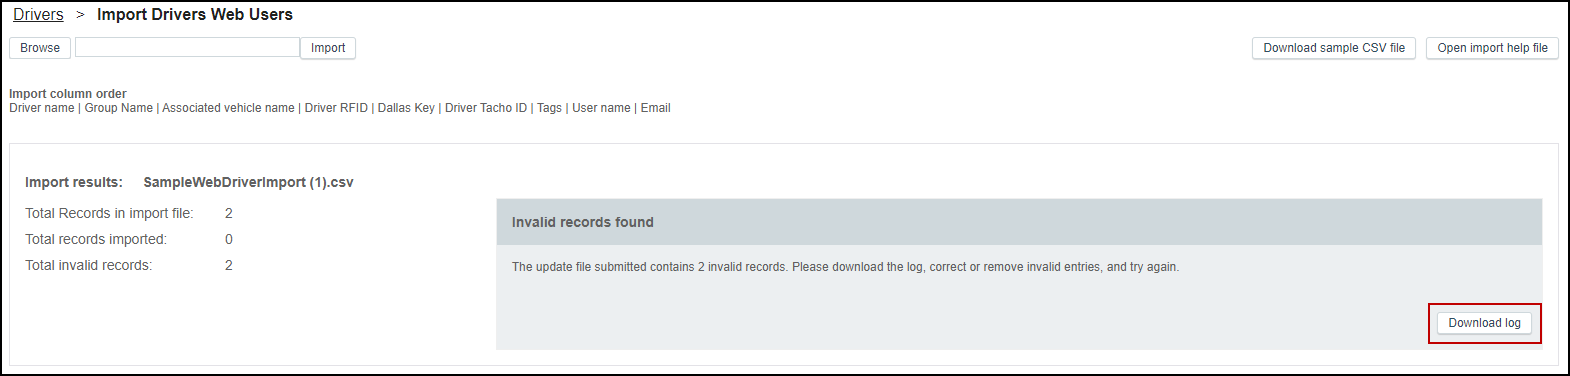
- Once the import is complete the summary shows:
- Total records contained in the file
- Total records imported
- Total invalid records
- There is also a section dealing with invalid records. Pressing the button highlighted below enables you to download the records that have failed.

Driver Overwrite Stages
This section deals with overwriting existing drivers. An import file can contain both existing drivers to edit and new drivers to insert.
Step 1 – Create overwrite driver list
- The file must be a CSV file format (in Excel save as ‘CSV’)
- A template has been provided as an example in the import page of Connect
- If using Excel to create the CSV file, ensure that the driver list is the first worksheet (Sheet 1)
- The driver list must follow same structure as the driver table
- Driver name
- Group name
- Associated vehicle name
- RFID Key number
- PND PIN code
- Tacho Card number
- Tags
- The sample file contains a top (header) row in the CSV. You should remove this row. Place your first driver in the first row.
- Do not duplicate driver names
- A driver must be in a group.
- NOTE: the minimum import is a driver and a group.
- ID keys cannot be imported if they already exist. 8. ID keys must be exactly 6 characters, each a digit or a letter between A and F. An example would be ‘123456’ or ‘142FEE’
- Tags are single words separated by a space. These tags will replace any existing tags on the vehicle. If no tags are specified in the file, then any existing tags will be deleted.
Step 2 - Import drivers
- To import the file select ‘Import’ in the drivers page

- To import the file select ‘Browse in the drivers page
- Browse for the correct file

- As soon as you’ve selected your file a checkbox appears. Select the checkbox to confirm you want to edit drivers. To finish run the import process by pressing ‘Import’
- During the import process, you will be prompted by the following confirmation on the first record you’re going to edit.

- At this stage you have the following options (from left to right):
- Skip this record: this won’t update the current record
- Skip all: won’t update any records
- Overwrite this record: will overwrite the current record
- Overwrite all: will overwrite all records without asking for any further confirmation
- Cancel import: stops the import process at its current stage
- At the end of the import process a summary indicates how rows have been imported (including rows edited).
Import Drivers Web Users
This import allows the creation of drivers/web users that do no currently exist on the system.
Driver/web user import stages are:
- Step one - Create a drivers/web users list
- Step two – Import
Step one - Create a drivers/web users list
- To import the file must be a CSV file (in Excel save as ‘CSV’)
- Click 'Download sample CSV file' to download a sample file

- If using Excel to create the CSV file, ensure that the web driver user list is the first worksheet (Sheet 1).

- The driver list must follow same structure as the driver table –
- Driver name
- Group name
- Associated vehicle name
- RFID Key number
- PND PIN code
- Tacho Card number
- Tags
- Username of the web user that is going to be created
- Email of the web user that is going to be created
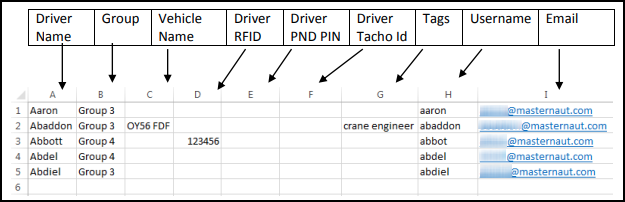
Do not include a top row with any headers in your CSV, the first line should be your first driver.
- The minimum details that need to be provided for a web driver user are group, username and email.
- You can only import new drivers. If the driver already exists in the system they cannot be imported again.
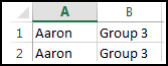
- There cannot be a duplicate driver in the file (e.g. Aaron and Aaron)
- Group is mandatory. The group must be an existing group in the system.
- Vehicle name if entered must exist in the system.
- Driver RFID keys cannot be imported if they already exist. RFID keys must be exactly 6 characters, each a digit or a letter between A and F. An example would be ‘123456’ or ‘142FEE’.
- Driver PND PIN must have between 4 and 8 digits. An example is ‘1234’.
- Driver Tacho Id can have numeric digits or letters between A and Z (including lower case).
- Tags are single words separated by a space. For example “crane engineer”.
- Username is mandatory. The username cannot be the same as an existing username in the system.
- Email is mandatory. It will be used to send the credentials for the access to the web application.
Step two - Import
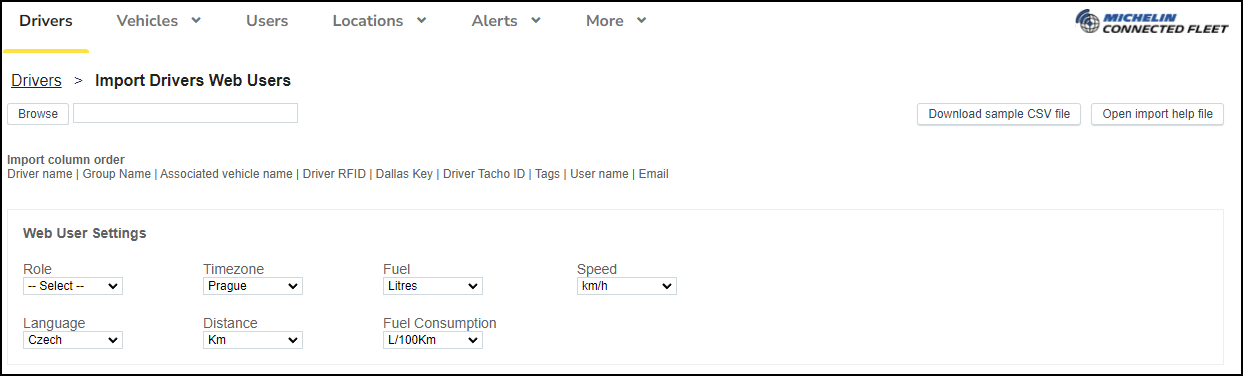
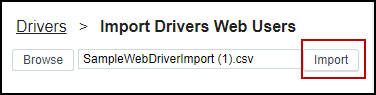
- To import the file press the “Import Drivers Web Users” button in the drivers page
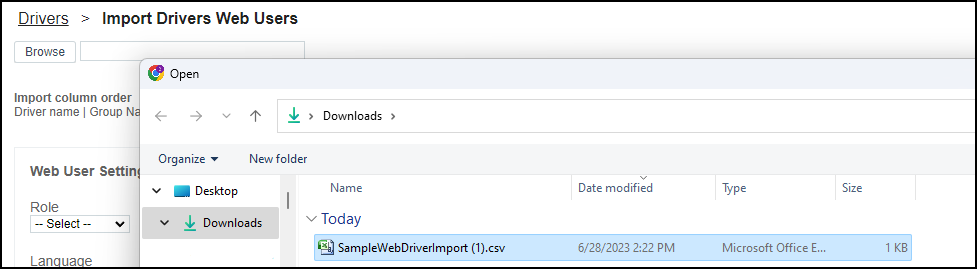
- Select your file by pressing on “Browse” button
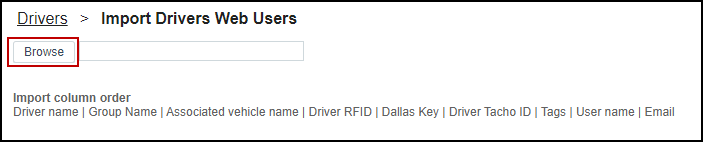
- Browse for the correct file
- Choose the settings to apply to each user in the import file.
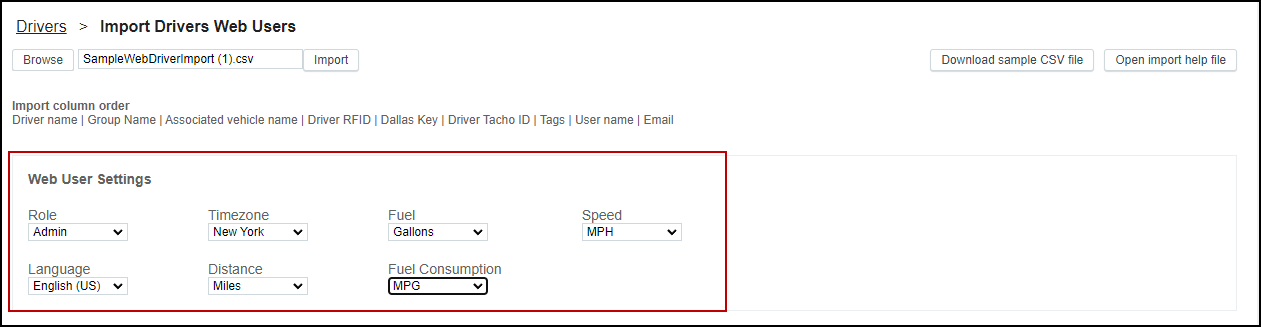
- Once the settings are chosen, you can press “Import”
- Press ‘Save’ to complete the import. This can only happen if there are no error notifications.
- Any errors with the import file will be highlighted. This is an example of import errors notification. Click on 'Download log' do view details of what will need to be corrected before import can succeed.